Full Viper’s Weapons
18 x Malign Infusions
Sword build
Full Harrier’s Weapons
Food
Infusions
18 x Healing Infusions
 Druid
Druid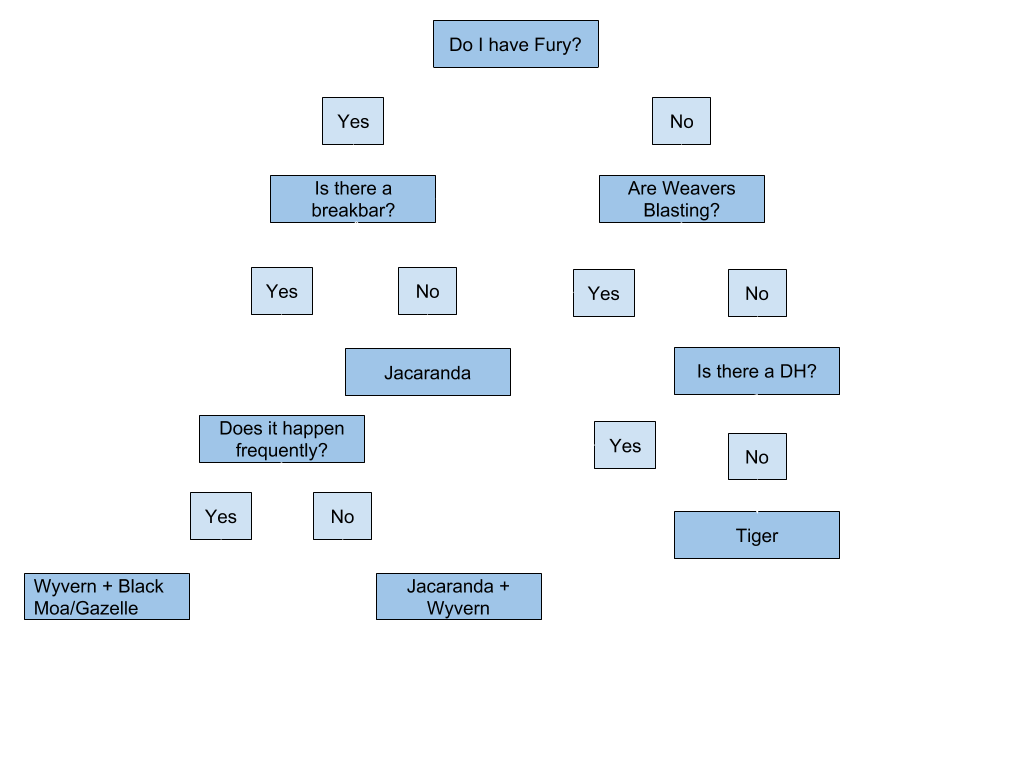
 Soulbeast ConditionDruid
 Soulbeast ConditionDruid
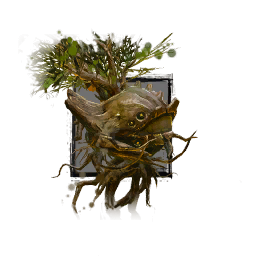 Jacaranda or
  Juvenile Tiger
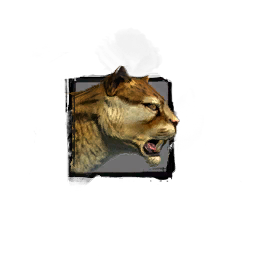
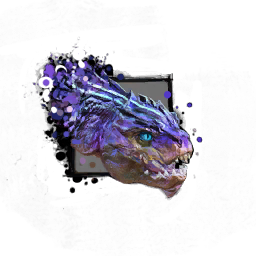 Juvenile Electric Wyvern
Soulbeast ConditionDruid
Soulbeast ConditionDruidJuvenile Electric Wyvern
Soulbeast ConditionDruidJuvenile Tiger
Juvenile Electric Wyvern
Soulbeast ConditionDruid
Soulbeast ConditionDruidSoulbeast ConditionDruidJuvenile Tiger or Jacaranda
Juvenile Electric Wyvern
Soulbeast ConditionDruid
Soulbeast ConditionDruid
Soulbeast ConditionDruid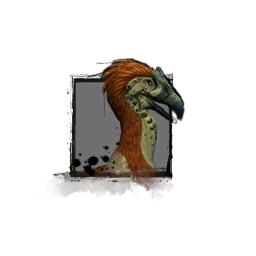 Juvenile Red Moa
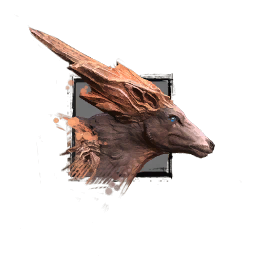
Jacaranda
Soulbeast ConditionDruidJuvenile Electric Wyvern
Juvenile Red Moa
Jacaranda
Soulbeast ConditionDruidJuvenile Electric Wyvern
 Juvenile Rock Gazelle
Soulbeast ConditionDruidJuvenile Tiger or Jacaranda
Juvenile Rock Gazelle
Juvenile Rock Gazelle
Soulbeast ConditionDruidJuvenile Tiger or Jacaranda
Juvenile Rock Gazelle
Soulbeast ConditionDruidJuvenile Tiger or Jacaranda
Juvenile Electric Wyvern
Juvenile Electric Wyvern
Druid
Feedback, Questions and Website Discussions can be found here.
Raid builds: Builds are up to date. Updating the guides atm.
Benchmark page: Benchmarks are up to date. Updating the teamcomps atm.
 Juvenile Jungle Stalker
 Juvenile Black Moa
 Juvenile Jungle Stalker
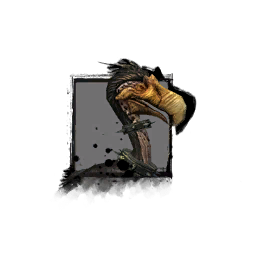 Juvenile Black Moa
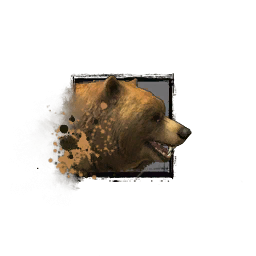 Juvenile Brown Bear